How to Set Up a Custom Domain for Blogger
This section will cover the steps on how to set up a custom domain for Blogger.
Step 1. Adding Two CNAME Records
The first task is to set up the CNAME records, which you can do by following these steps:
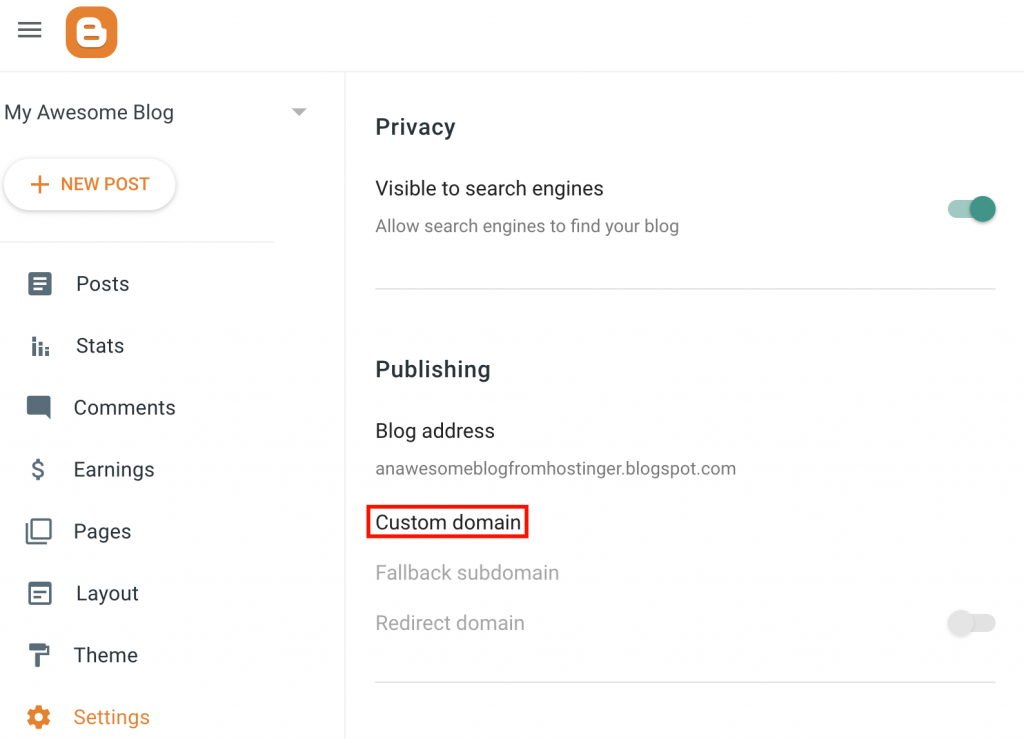
1. To find the required CNAME records, navigate to your blog’s Settings → Custom domain section.
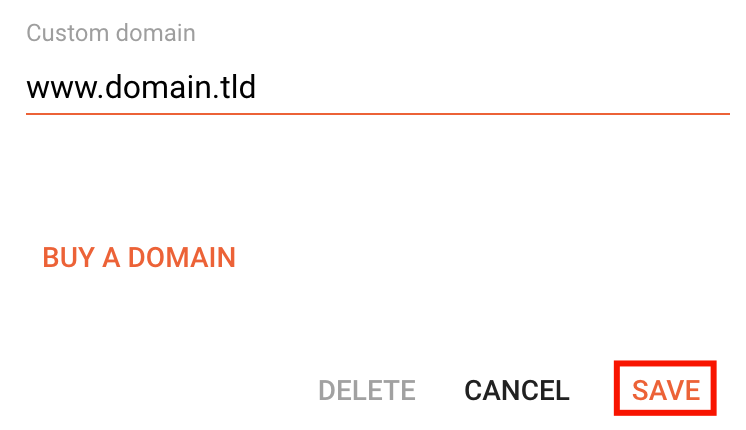
2. On the settings page, enter your domain name and click on Save.
Note that the domain name must be entered with the www subdomain.
3. After that, a screen with the two required CNAME records will appear.
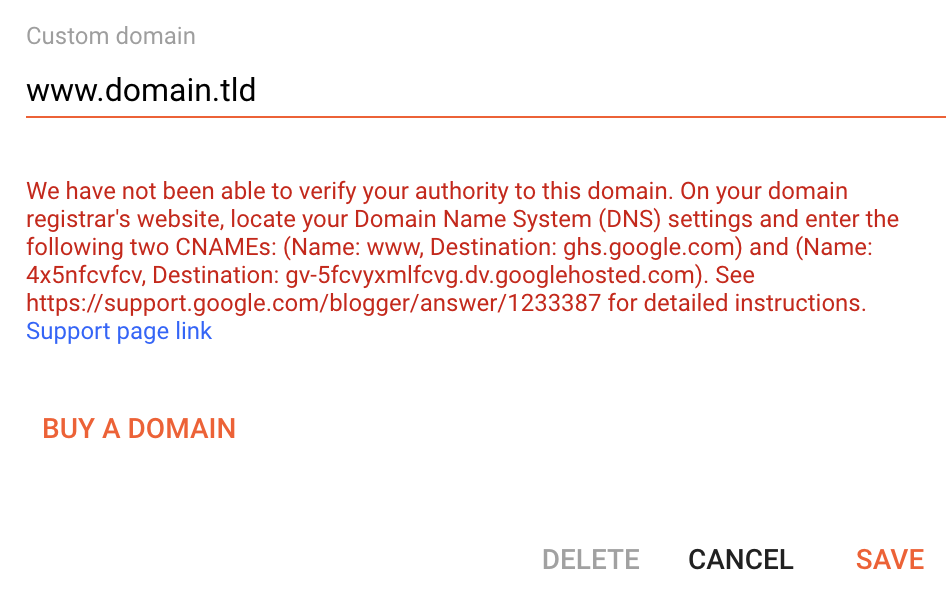
4. Add these records using any DNS editor. You can contact your hosting provider or domain registrar for assistance. In this example, we will use hPanel’s DNS Zone Editor. First, edit the existing CNAME www record.
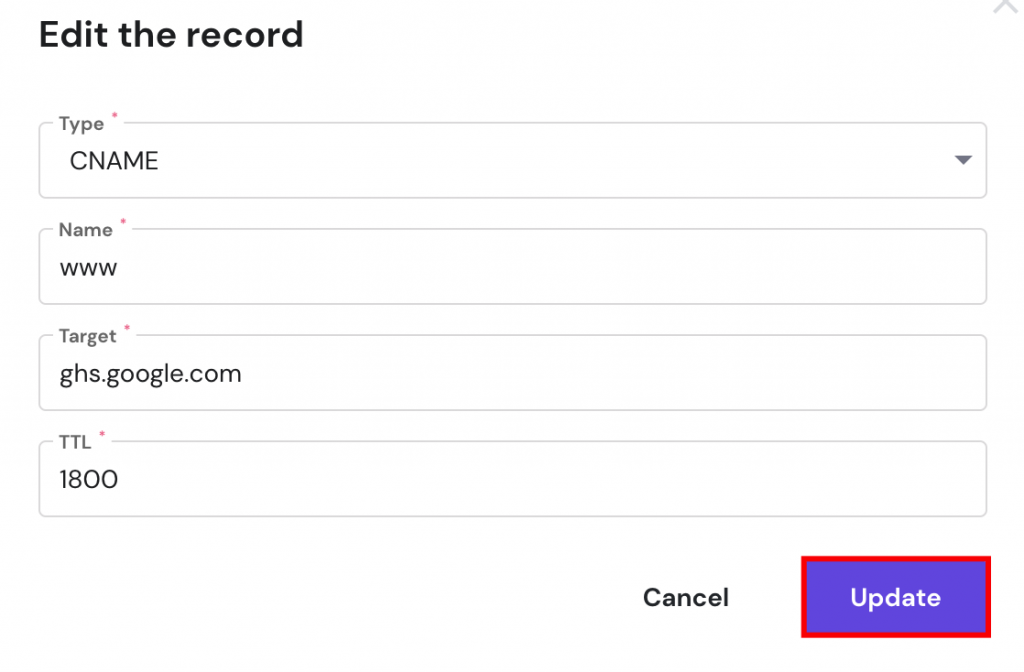
5. After that, add the new CNAME record.

6. After adding both CNAME records, save the changes on your Blogger account and allow up to 24 hours for the DNS settings to fully propagate.
Step 2 (Optional). Adding Four A Records or Redirecting to WWW
An optional step would be to add four A records. This way, you will link both www and non-www address versions of your website, loading it from both URLs.
If you skip this step, visitors who leave out the “www” part of the domain will see an error page or a different site, depending on your current A record.
To avoid that, create A records for these IP addresses:
- 216.239.32.21
- 216.239.34.21
- 216.239.36.21
- 216.239.38.21
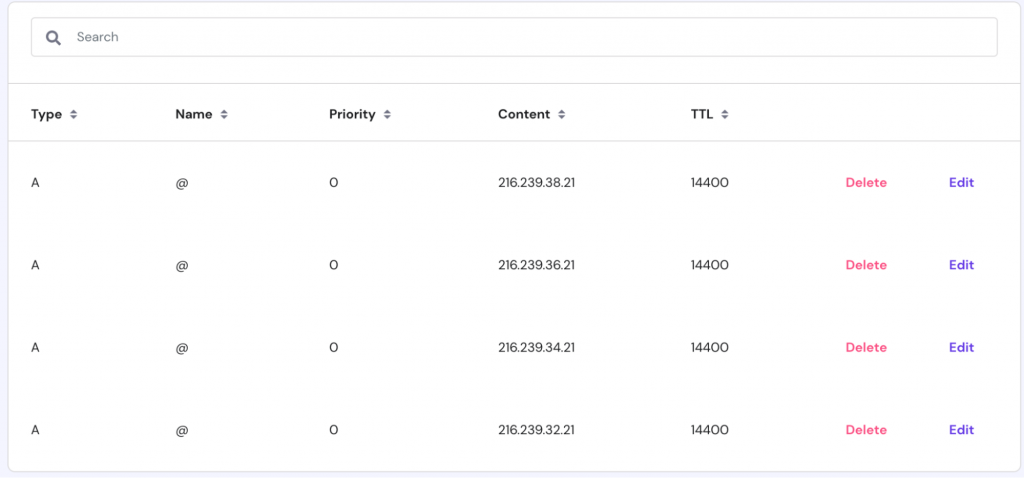
After adding the A records, it may take up to 24 hours to fully propagate. Then, both the www.domain.tld and domain.tld URLs will lead users to your blog.
Alternatively, it’s possible to redirect visitors from the non-www to the www version of your blog. That way, setting the A records will not be required.
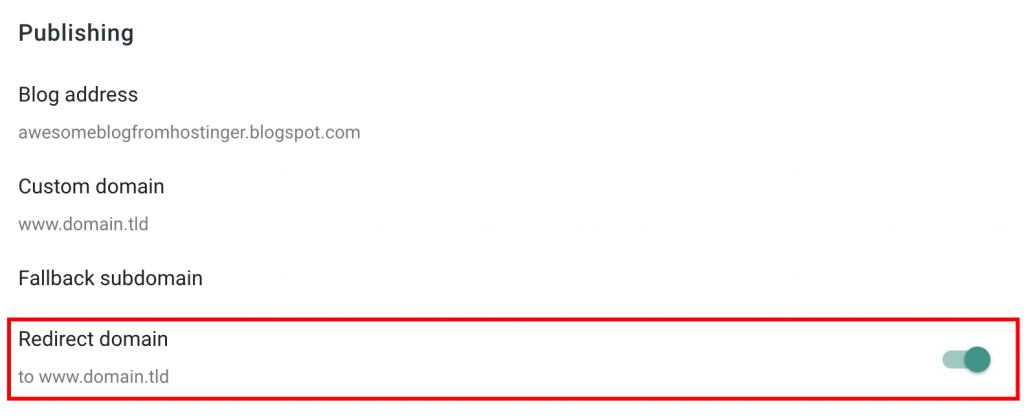
You can create redirects after configuring your custom domain settings. Open the Settings section and activate the toggle on Redirect domain.
